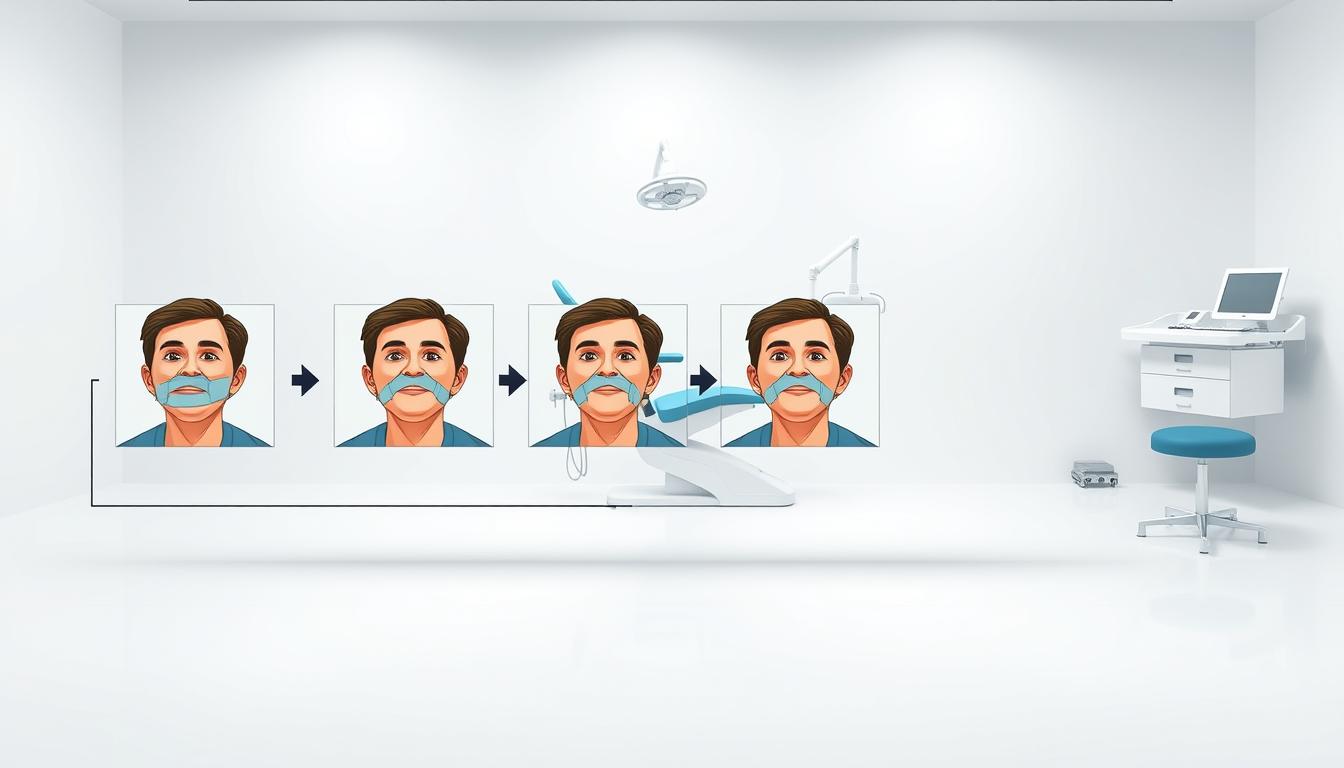
Discover the secret to glowing skin with under eye patches. They change tired eyes into bright, refreshed ones. Learning to use them right can make your skincare better and boost your confidence.
Under eye patches have changed skincare. They target puffiness, dark circles, and fine lines. They’re perfect for big events or daily beauty routines, making you look bright-eyed and fabulous.
These treatments give your eyes special care. Knowing how to use them right can give you amazing results at home.
Key Takeaways
- Under eye patches provide targeted skincare for the delicate eye area
- Proper application is key for the best results
- Different patches tackle specific skin issues
- Hydration and quality ingredients are most important
- Consistency leads to noticeable results
Understanding Under Eye Patches and Their Benefits
Under eye patches have changed the game in skincare. They offer focused care for the sensitive eye area. You can find patches for hydration, brightening, and anti-aging.
Exploring Patch Varieties
There are many types of under eye patches for different needs:
- Hydrating Patches: Great for dry, dehydrated skin
- Brightening Patches: Help with dark circles and uneven skin tone
- Anti-Aging Patches: Fight fine lines and boost skin elasticity
Essential Ingredients to Seek
When picking under eye patches, look for these key ingredients:
| Ingredient | Primary Benefit |
|---|---|
| Hyaluronic Acid | Intense Hydration |
| Vitamin C | Brightening Effect |
| Collagen | Anti-Aging Support |
How Under Eye Patches Work
Under eye patches create a barrier that lets ingredients reach deeper. They give focused care to the sensitive eye area. This makes them more effective than regular creams.
Essential Pre-Application Skin Care Steps
Getting your skin ready is key before using under eye patches. It’s like preparing a canvas for painting. The right prep can make a big difference in how well the patches work.
Start by cleaning your skin well. Make sure it’s free from makeup, oils, and dirt. This helps the patches work better.
- Gently cleanse your face with a mild cleanser
- Use lukewarm water to open pores
- Pat skin dry with a soft towel
- Avoid harsh rubbing around delicate eye areas
Hydration is also important when using under eye patches. Dry skin can make the patches less effective.
| Hydration Step | Purpose | Recommended Action |
|---|---|---|
| Toning | Balance skin pH | Use alcohol-free, hydrating toner |
| Moisturizing | Create smooth surface | Light, non-greasy moisturizer |
| Serum Application | Boost hydration | Hyaluronic acid-based serum |
Pro tip: Always perform a patch test to ensure no adverse reactions before full application.
How to Wear Under Eye Patches Correctly
Learning how to use under eye patches can make your skincare routine better. Our guide will show you how to apply them correctly for the best results.
It might seem easy to put on under eye patches, but there’s a right way. We’ll explain how to do it to get the most from your skincare.
Proper Placement Techniques
Getting the patches in the right spot is key. Here’s what to do:
- Clean your face well before applying
- Pat the under-eye area dry gently
- Place patches under the eye carefully, avoiding the lash line
- Press out any air bubbles for better skin contact
Recommended Duration
The time you wear under eye patches depends on the product. Here’s a quick guide:
| Patch Type | Recommended Duration | Frequency |
|---|---|---|
| Hydrating Patches | 15-20 minutes | 2-3 times per week |
| Brightening Patches | 10-15 minutes | 1-2 times per week |
| Anti-Aging Patches | 20-25 minutes | Once per week |
Common Application Mistakes to Avoid
Even skincare experts can make mistakes with under eye patches:
- Leaving patches on too long – Can irritate the skin
- Applying on dirty skin – Reduces patch effectiveness
- Stretching or pulling skin during application
- Using expired or stored improperly patches
Pro tip: Keep your under eye patches in a cool, dry place. This keeps them effective. With these tips, you’ll see brighter, refreshed under-eyes soon!
Best Time to Apply Under Eye Patches
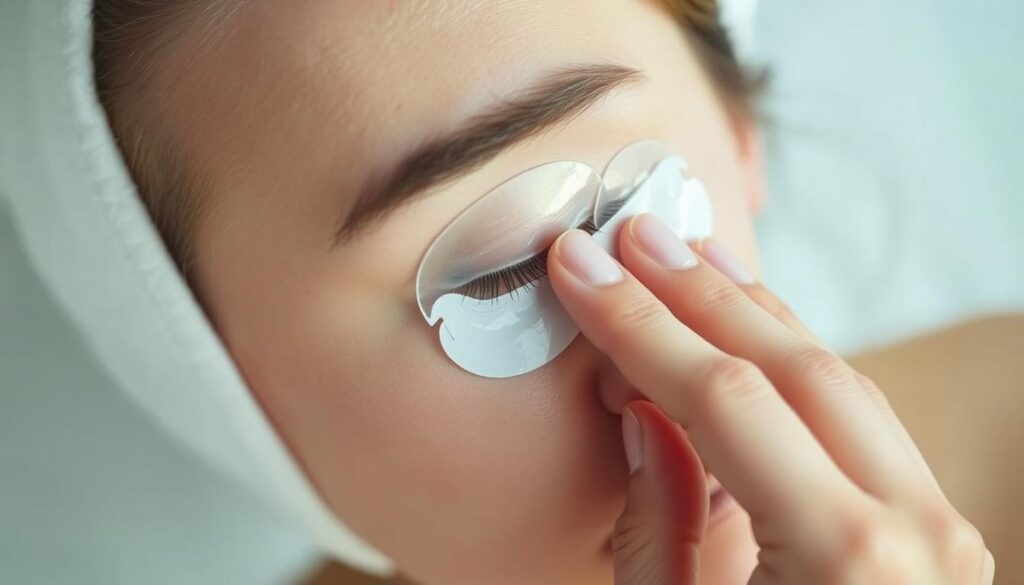
Learning how to use under eye patches is all about timing. Our expert guide will show you the best times to care for your eyes.
When you apply under eye patches can really make a difference. Each time of day has its own benefits for your skin.
- Morning Application: Ideal for reducing morning puffiness and preparing skin for makeup
- Evening Routine: Perfect for intensive hydration and overnight recovery
- Pre-Event Prep: Excellent for instant brightening and skin refreshment
Here’s when you should use under eye patches for the best results:
| Time of Day | Benefit | Recommended Duration |
|---|---|---|
| Early Morning | Depuff and Hydrate | 10-15 minutes |
| Before Makeup | Smooth Skin Texture | 5-10 minutes |
| Evening | Intensive Repair | 15-20 minutes |
Pro tip: Always listen to your skin. Under eye patches usage varies depending on individual skin needs and daily activities. Experiment to find your perfect application window!
Preparing Your Skin for Under Eye Patches
Getting your skin ready for under eye patches is key to getting the best results. Your skin needs to be prepared well for the patches to work their best. Think of it as getting your skin ready for a skincare show that makes your under-eye area look bright and fresh.
Essential Cleansing Requirements
Before you put on under eye patches, you must clean your skin well. A gentle clean is best to remove:
- Makeup residue
- Excess oil
- Environmental pollutants
- Dead skin cells
Surface Preparation Techniques
Getting your skin ready is more than just cleaning. The right preparation can make your under eye patches work better.
| Preparation Step | Purpose | Recommended Action |
|---|---|---|
| Exfoliation | Remove dead skin cells | Gentle chemical exfoliant 1-2 times weekly |
| Toning | Balance skin pH | Alcohol-free hydrating toner |
| Hydration | Create smooth surface | Light, fast-absorbing moisturizer |
Pro tip for applying under eye patches: Always pat your skin dry with a clean, soft towel. Avoid rubbing, which can cause unnecessary irritation and compromise your skin’s delicate texture.
Choosing the Right Under Eye Patches for Your Needs
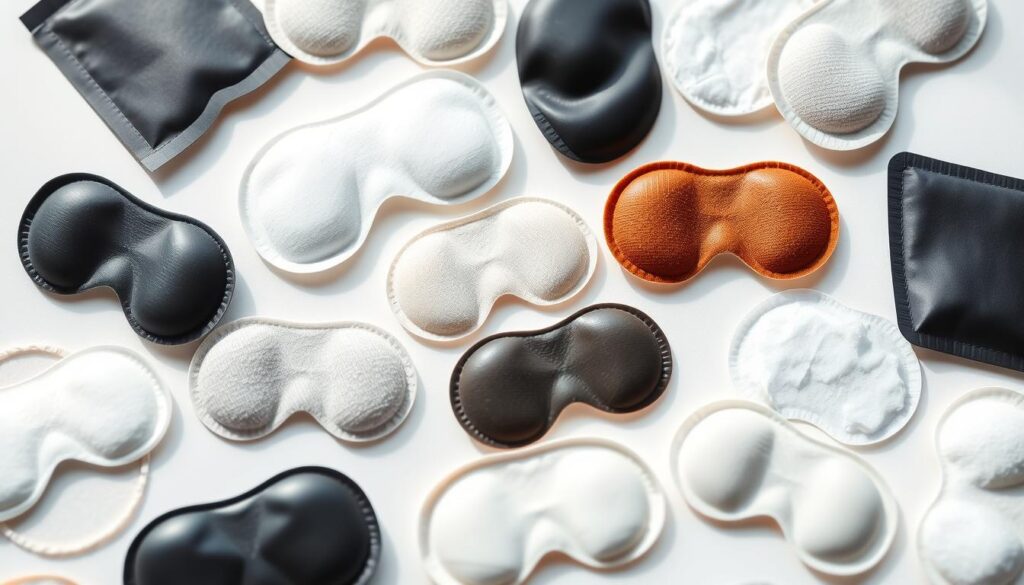
Finding the right under eye patches can change your skincare game. We know the beauty world can be overwhelming. We’re here to guide you through it.
When looking for the perfect under eye patches, keep these points in mind:
- Skin Concerns: Know what your skin needs most
- Look for patches that target specific issues
- Check the quality of the ingredients
Under eye hydrating patches are great for dry skin. They add moisture to the under-eye area, making it look plump and refreshed.
Got dark circles or uneven skin tone? Brightening patches are your go-to. They have vitamin C and other brighteners to reduce dark spots and brighten your look.
Concerned about aging? Anti-aging patches are here to help. They often have:
- Peptides to boost collagen
- Hyaluronic acid for moisture
- Antioxidants to fight off damage
Pro tip: Always test new patches on a small area first. Also, check the ingredients to make sure they’re good for your skin type. Your under eye area needs special care!
Step-by-Step Application Guide
Learning to apply under eye patches can change your skincare game. We’ll walk you through each step to help you get the best results from these beauty wonders.
Perfecting the Application Process
Getting ready is the first step in using under eye patches. Make sure your face is clean and dry. This helps the patches work better.
- Cleanse your face with a gentle cleanser
- Pat dry with a soft towel
- Gently pat the under-eye area to dry it fully
Precise Patch Placement
Putting the patches in the right spot is key. Place them right under your eyes. Make sure they cover the area without touching your lashes.
- Remove patches from packaging
- Gently unfold the patches
- Place patches symmetrically under each eye
- Press lightly to ensure good contact with skin
Removal and Aftercare
Knowing how to use under eye patches means knowing how to take them off too. Usually, leave them on for 15-20 minutes, or as the product says.
- Slowly peel off patches from outer corners
- Gently pat remaining serum into skin
- Follow with your regular moisturizer
Pro tip: Keep unused patches in a cool, dry spot. This keeps them fresh and lasts longer.
Maximizing Under Eye Patch Benefits
To get the most out of under eye masks, you need to use them right. We’ve got expert tips to make your eye care routine better. You’ll see big improvements.
Getting the most from under eye masks is more than just applying them. Our tips will take your skincare to the next level. You’ll see amazing results.
- Prep your skin with gentle cleansing before application
- Store patches in a cool environment for optimal preservation
- Maintain consistent hydration throughout the day
- Use complementary serums for enhanced absorption
Temperature is key for under eye mask benefits. Patches kept in the fridge can cool your skin. This helps reduce puffiness and boosts blood flow.
| Technique | Benefit | Recommended Frequency |
|---|---|---|
| Cold Storage | Reduces Inflammation | 2-3 times weekly |
| Gentle Massage | Improves Product Absorption | During patch application |
| Hydration Boost | Increases Skin Elasticity | Daily |
Pro tip: Align your under eye mask routine with your skin’s natural regeneration cycle for optimal results.
How you live affects your under eye mask results. Getting enough sleep, eating right, and managing stress helps. You’ll look refreshed and youthful.
Combining Under Eye Patches with Other Skincare Products
Using under eye patches right means layering skincare products wisely. Our experts have put together a guide to help you make the best skincare routine. This will help you get the most out of your under eye patches.
It’s important to know how different skincare products work with under eye patches. The right mix can make your skincare routine better. But the wrong combination can make your treatments less effective.
Perfectly Compatible Products
- Lightweight hydrating serums
- Gentle hyaluronic acid formulations
- Vitamin C solutions
- Peptide-based moisturizers
Products to Steer Clear Of
- Heavy oil-based creams
- Aggressive exfoliants
- High-concentration retinol products
- Alcohol-based treatments
When using under eye patches, timing and layering are important. We suggest putting patches on clean, slightly damp skin. Then add more products after.
| Product Type | Compatibility with Under Eye Patches | Recommended Approach |
|---|---|---|
| Serums | High | Apply before patches |
| Moisturizers | Medium | Apply after patch removal |
| Sunscreen | High | Apply as final step |
Pro tip: Always test new product combinations on your skin first. Start slow to avoid irritation.
Morning vs Evening Application: What Works Best
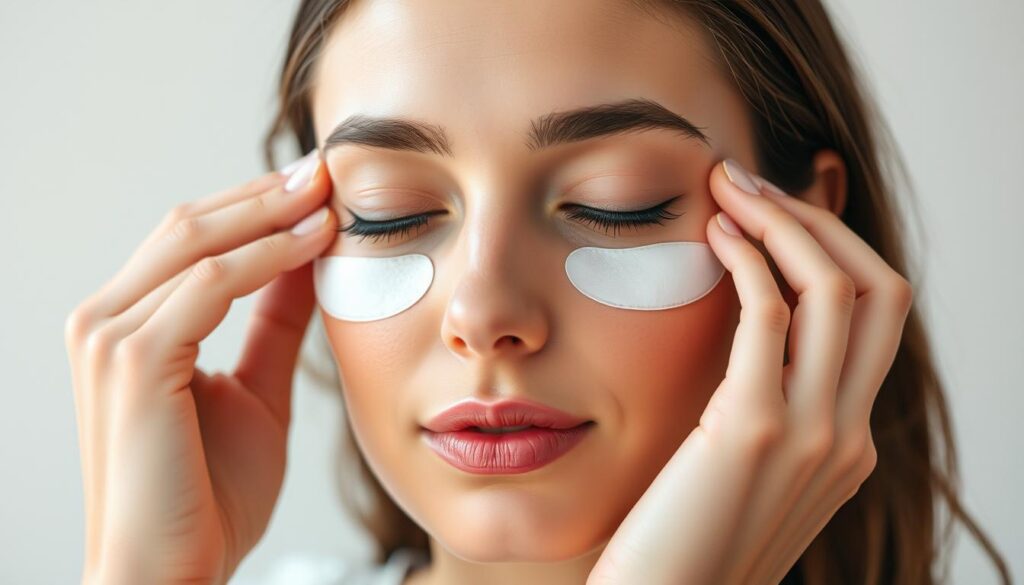
Applying under eye patches at the right time is key to getting the most out of them. The best time for you depends on your skin needs and your daily routine.
Applying under eye patches in the morning and evening has its own benefits. Let’s look at when is best for your skincare routine:
Morning Application Benefits
- Reduces morning puffiness and tired-looking eyes
- Provides instant hydration before makeup application
- Primes skin for daytime moisturizers
Evening Application Advantages
- Supports skin’s natural regeneration process
- Allows deeper ingredient absorption during sleep
- Helps repair daily environmental damage
Choose your application time based on your skin concerns and lifestyle. Consistency is key when applying under eye patches.
| Time of Day | Best For | Recommended Duration |
|---|---|---|
| Morning | Depuffing, Hydration | 10-15 minutes |
| Evening | Repair, Intensive Treatment | 15-20 minutes |
Pro tip: For the best results, switch between morning and evening applications. This gives your under-eye area all-around care all week.
Storage and Maintenance of Under Eye Patches
Keeping your under eye gel pads in good shape is key. It helps them work better and last longer. Storing them right is more than just putting them away. It’s about keeping their skincare benefits strong.
Under eye gel pads need special care to stay fresh and effective. Here are the best ways to keep them in top shape.
Creating the Perfect Storage Environment
For the best storage, consider these important points:
- Store patches in a cool, dry spot away from sunlight
- Keep the temperature between 59-77°F (15-25°C)
- Close the packaging tightly after each use
- Don’t store near heating or cooling vents
Understanding Shelf Life Guidelines
To make your under eye gel pads last longer, pay attention to their expiration:
- Look for the expiration date on the packaging
- They usually last 6-12 months after opening
- Watch for signs like discoloration or texture changes
- Throw them away if you see anything odd
Pro tip: Store your patches in their original packaging. This keeps them safe from things that could harm their quality.
By following these tips, your under eye gel pads will stay a strong part of your skincare routine. They’ll keep giving you hydration and a fresh look every time.
Troubleshooting Common Under Eye Patch Issues
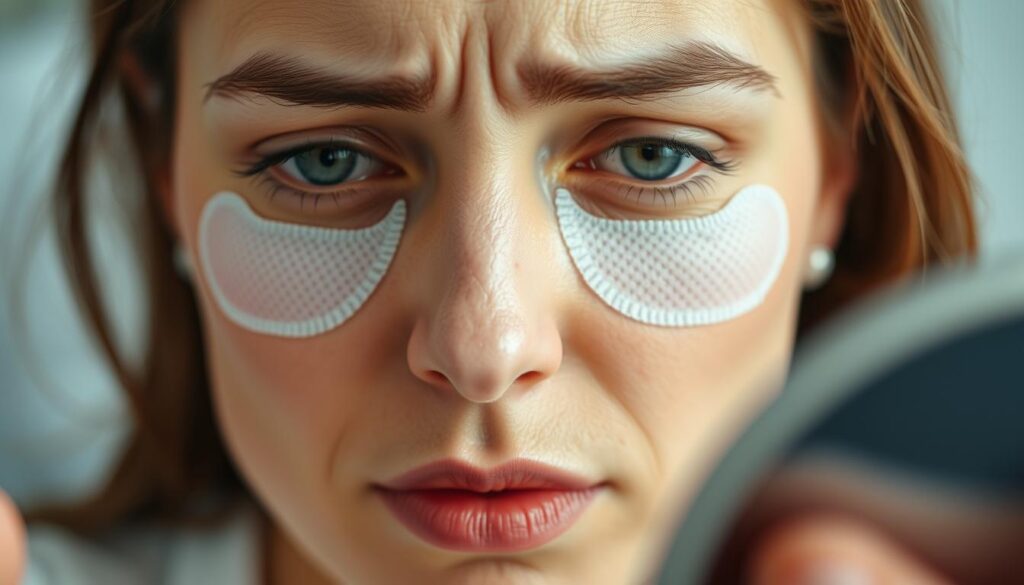
Exploring under eye patches can be a bit tricky. Even those who love skincare face problems when using them. We’re here to help you solve these common issues with confidence.
Sticky Situations: When Patches Won’t Stay Put
Under eye patches can be a bit finicky. If they keep slipping, try these quick fixes:
- Make sure your skin is dry before applying
- Press patches from the inside out
- Use clean, dry hands to place patches
Skin Sensitivity Solutions
Unexpected skin reactions can mess up your routine. Here are some tips to handle irritations:
- Do a patch test first
- Go for hypoallergenic patches for sensitive skin
- Remove patches if you feel any discomfort
Here’s a quick guide for common under eye patch problems:
| Problem | Solution |
|---|---|
| Patches falling off | Cleanse and dry skin thoroughly |
| Skin irritation | Use gentle, fragrance-free patches |
| Uneven application | Smooth patches carefully from center outward |
Pro tip: Always read the manufacturer’s instructions for the best application technique.
Special Occasion Under Eye Patch Treatments
Every glamorous moment needs a flawless look. Under eye brightening patches are your secret for instant glow. They’re perfect for weddings, big presentations, or nights out, changing your look in minutes.
For special events, these patches are key. They quickly treat dark circles, puffiness, and leave your skin smooth and refreshed.
Pre-Event Preparation Strategies
Makeup artists and skincare experts suggest a smart plan for using these patches:
- Start treatments 48 hours before your event
- Hydrate well to make patches work better
- Use patches regularly for the best effect
- Pick patches with brighteners like vitamin C
Emergency Solutions for Last-Minute Glow
Got an event at the last minute? No worries! Under eye brightening patches can quickly revive your skin.
| Time Frame | Recommended Action |
|---|---|
| 2 Hours Before Event | Cooling hydrogel patches with caffeine |
| 30 Minutes Before | Brightening patches with hyaluronic acid |
| Immediate Touch-Up | Rapid hydration patches |
Pro tip: Always have under eye brightening patches in your emergency beauty kit. Your skin will be grateful!
Safety Precautions and Considerations
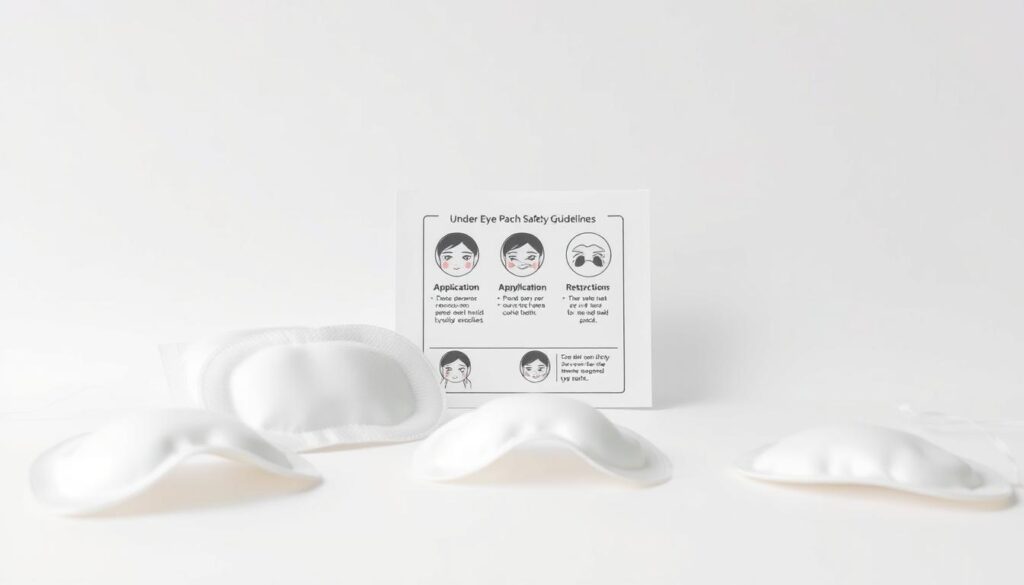
When you start using under eye patches, safety is key. These skincare tools can be amazing, but knowing the risks is important for your skin’s health.
Before you put on under eye patches, follow these important safety tips:
- Always do a patch test for allergic reactions
- Look for expiration dates on the packaging
- Check the ingredients for anything that might irritate your skin
- Don’t use patches on skin that’s broken or irritated
If you have sensitive skin, be extra careful with under eye patches. People with certain skin issues should talk to a dermatologist before adding these to their skincare routine.
| Skin Type | Recommended Precautions |
|---|---|
| Sensitive Skin | Use patches for 10-15 minutes, choose hypoallergenic ones |
| Acne-Prone Skin | Go for non-comedogenic patches, avoid oily formulas |
| Mature Skin | Look for patches with hydrating ingredients like hyaluronic acid |
Pro tip: Start with short times and slowly increase as your skin gets used to it.
Watch out for these signs to stop using them:
- Persistent redness
- Burning or stinging
- Changes in skin texture
- Increased sensitivity
Remember, everyone’s skin is different. What works for one might not for another when using under eye patches.
Signs It’s Time to Replace Your Under Eye Patches
Your under eye gel pads won’t last forever. Like any skincare product, they have a limited life span. Knowing when to replace them is key to keeping your skin healthy and looking its best.
Skincare experts say to watch for certain signs. These signs tell you it’s time to get new under eye gel pads.
Quality Indicators to Watch
- Texture changes: Gel pads becoming dry, crusty, or losing their smooth gel-like consistency
- Discoloration or unusual smell indicating possible bacterial growth
- Reduced hydration and cooling effect on application
- Packaging damage or seal compromise
When to Dispose of Your Patches
Under eye gel pads usually last 6-12 months after opening. Pro tip: Always check the expiration date on the packaging.
- Throw away patches with mold or separation
- Replace gel pads that feel less refreshing or hydrating
- Store under eye patches in a cool, dry place to extend their life
By keeping an eye on your under eye gel pads, you’ll get the most out of them. This helps prevent skin irritations too.
Conclusion
Learning about under eye mask benefits is more than just skincare. It’s about boosting your confidence and taking care of yourself. We’ve looked into the world of under eye patches, from picking the right one to using it correctly. This will help you change how you take care of your skin.
Our guide has made using these beauty tools easier to understand. You now know how to apply patches, what ingredients to look for, and how to handle any issues. These masks do more than just hydrate. They help with puffiness, dark circles, and make your skin look younger.
Keep up the good work in your skincare routine. Remember, being consistent and using the right technique is important. Every time you use a patch, you’re treating yourself to a little bit of luxury. With what we’ve taught you, you’re ready to take your skincare to the next level.
Go ahead and use these patch techniques with confidence. You’ve learned a lot to help your skin look and feel its best. Your future self will thank you for the care you’re giving your skin now.


